Succulents are some of the easiest houseplants to propagate because there are several ways to do it. Today we’ll show how one succulent can be turned into many (even a dozen or more!). So whether you’re looking to grow your own collection or gift some plants to friends, this is a fun and easy process to try!
And as you’ll see, propagation is also a helpful way to care for your succulent collection. Pruning is a necessary part of houseplant maintenance and these techniques will help you turn an overgrown plant (or one with an awkwardly tall offshoot) into a bunch of fresh new plant babies.
What Is Plant Propagation?
Propagation is the process of growing new plants from parts of an existing plant such as its leaves, stems, roots, or seeds. You can propagate just about any houseplant yourself, although the techniques vary depending on the plant. Popular methods include water propagation (where you can watch new roots grow in water) and soil propagation (when new roots develop directly in a pot of soil). Succulents can also be propagated in the air! In all cases, after the cuttings sprout healthy new roots, they can be potted in soil and cared for just like the parent plant.
Note: You can also watch this video on YouTube.
When To Propagate Succulents?
Succulent propagation is best done in the spring and summer, during the plant’s active growing season. It can be successfully done any time of the year, though. Results may just take longer to show in the fall and winter. So don’t fret if you are starting your propagation out of convenience or when your succulent needs pruning. In fact, pruning prompted the propagation of the succulent you’ll be seeing today!
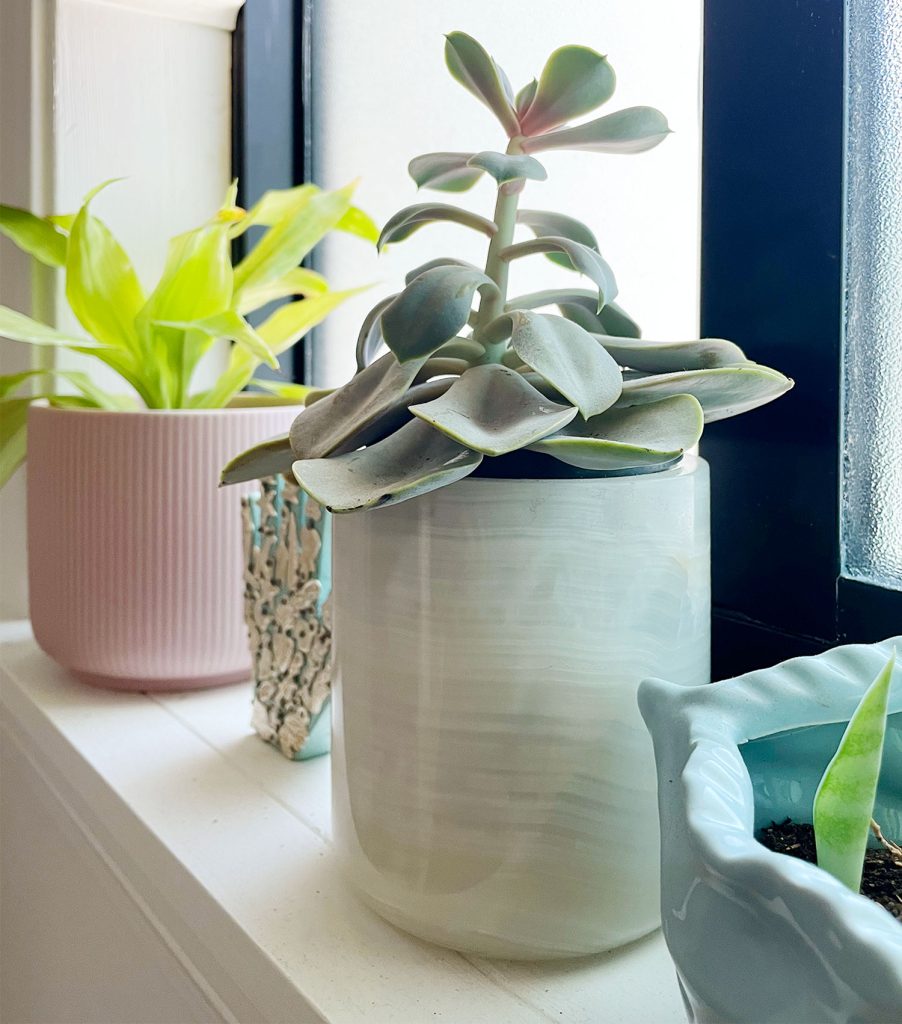
This Echeveria sits in our bathroom window, which is somewhat shaded. The limited sunlight caused the succulent’s stem to stretch out and look “leggy” as it reached for more light (a process called “etiolation”). We don’t mind how it looks, but we realized this etiolated succulent would be a great opportunity for multiple propagations! Yes, we got more than ten new succulents from just this one leggy stem!
Methods To Propagate Succulents
People love propagating succulents because you can use many parts of the plant and many different techniques, sometimes producing dozens of new plants from a single succulent! We’re not going to go through all of them today in detail, but here’s a quick overview:
- Leaf propagation: Remove individual leaves and place in the air, soil, or water to grow new roots and pups (small new, baby plants).
- Stem propagation: Place a bare stem cutting in the air, soil, or water to grow new pups where old leaves had been.
- Root propagation: Cut off everything above the soil line and allow roots to grow a new plant in the existing pot.
- Soil propagation: Place succulent leaves or stems in or atop well-draining soil and allow new roots to develop.
- Water propagation: Submerge the tips of leaves or stems in a jar of water and allow new roots to develop before transferring to soil.
- Dry or air propagation: Lay or hang leaves or stems with no soil or water, and allow new roots to develop before transferring to soil.
Succulent Propagation Steps
As an overview, here are the basic steps for this propagation tutorial. The process takes a few days upfront and then several weeks of waiting (and occasional watering) until new growth develops. So be sure to review all steps before beginning.

- Water your parent or mother succulent, wait 3 days.
- Cut stem at the soil line
- Remove bottom leaves
- Let all of the cut/removed pieces callous over for 3-5 days
- Replant bare stem in new soil
- Lay, hang, or plant leaves
- Place in bright indirect sunlight
- Keep propagating pieces lightly watered
- Pot any rooted plants in new soil
Propagation Supplies
Luckily, it takes very few supplies to propagate your succulents. Here’s what you should have handy before you start:
Step 1: Water Your Succulent
Water your mother plant and wait about 3 days before cutting anything. Succulents store water in their leaves, and giving them one last drink beforehand helps fill them up with moisture and nutrients for the “journey” ahead. As with any time you water your succulent, make sure any excess water is able to drain out the bottom of your pot.
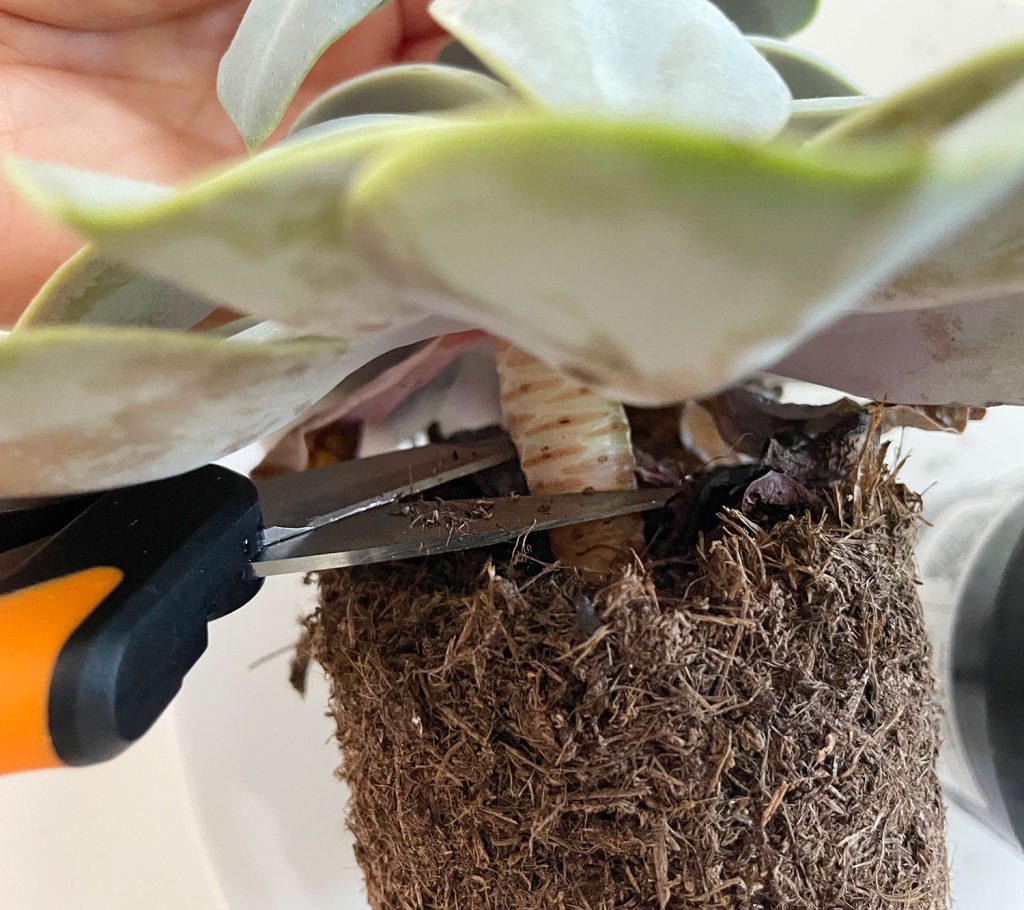
Step 2: Cut The Stem At The Soil Line
Start by cutting your succulent’s stem right at the soil line. Always use clean sharp scissors or snips when pruning your houseplants. Cleaning them first (a spritz or wipe of rubbing alcohol is great) helps prevent the spread of bacteria. Your pot will suddenly look very bare. Don’t worry!
Your existing pot isn’t trash. The roots can grow the first of many “new” plants you’ll get from this process. Place this pot in a spot with bright indirect light and continue to care for it as you had before. After a few weeks you should see new pups developing near the cut end of the leaves.
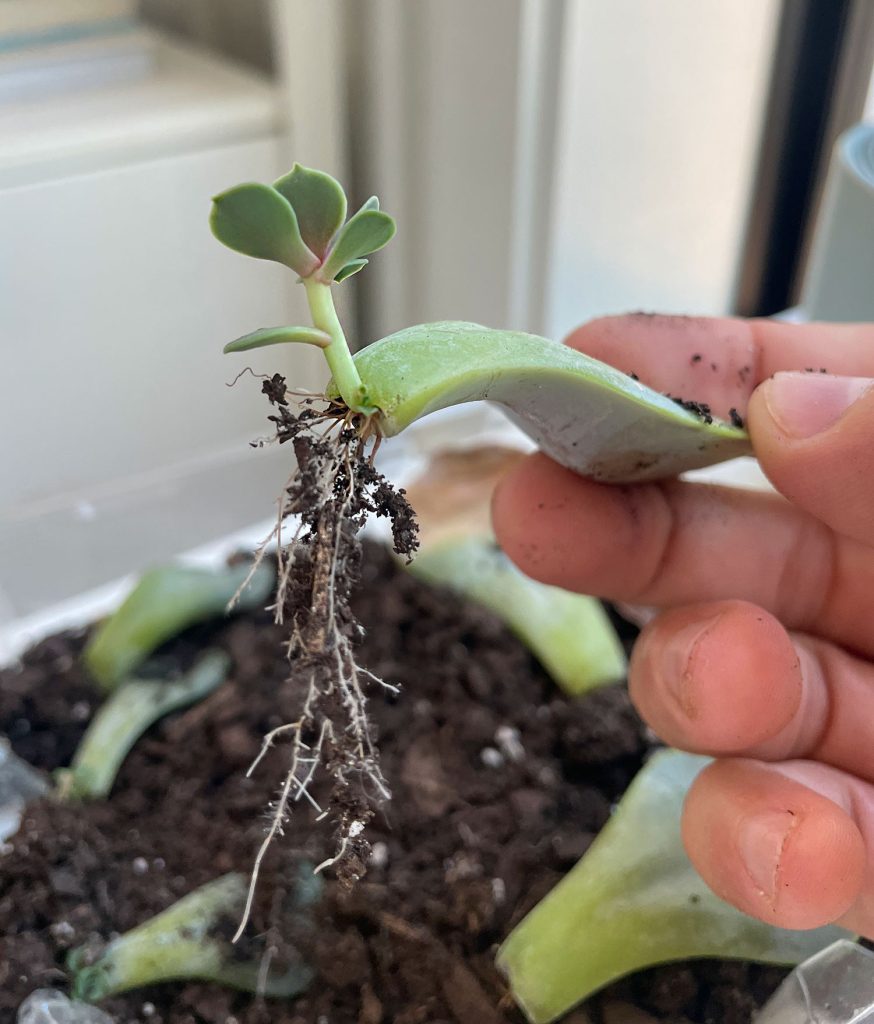
Step 3: Remove Bottom Leaves
Next, turn your attention to the plant you just cut off. Our stem was so long, we actually cut it again a little further up to create a small piece to work with at this step. But this may not be necessary for your succulent.
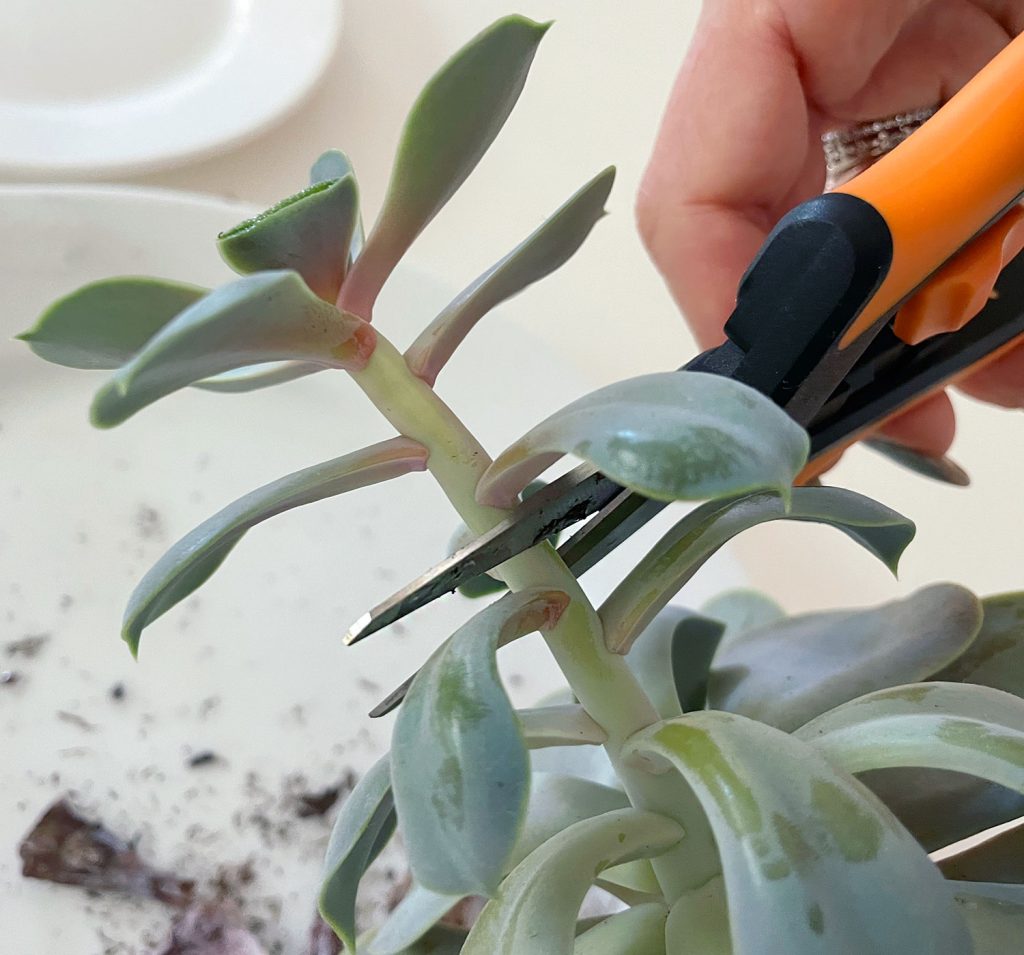
With our smaller pieces, we removed leaves from the bottom up. To remove a succulent leaf, gently move or twist it side-to-side at the base.
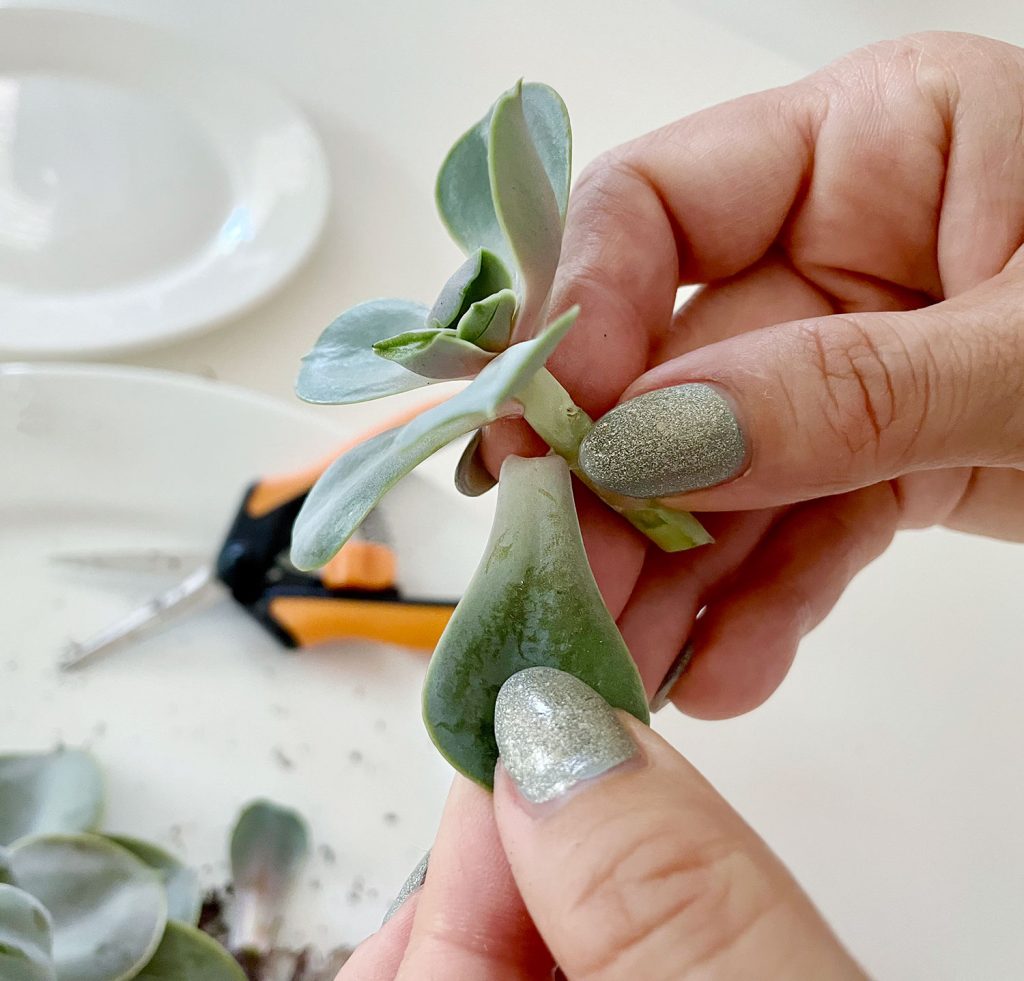
Most should break off easily, but take your time. It’s important to get a clean break from the base because ripped leaves cannot be propagated. Any yellow, brown, or mushy leaves won’t be healthy enough to propagate either.
If you’re replanting the top of the cut stem, leave a few layers of the rosette at the top. We’ll be replanting this portion in soil, which should give us our second “new” succulent. And thanks to this pruning, it won’t look leggy anymore!
Also, depending on how long leggy your stem is, you can also cut your bare stem into small pieces and propagate the stem clippings. If so, just treat those stem pieces the same as the leaves.
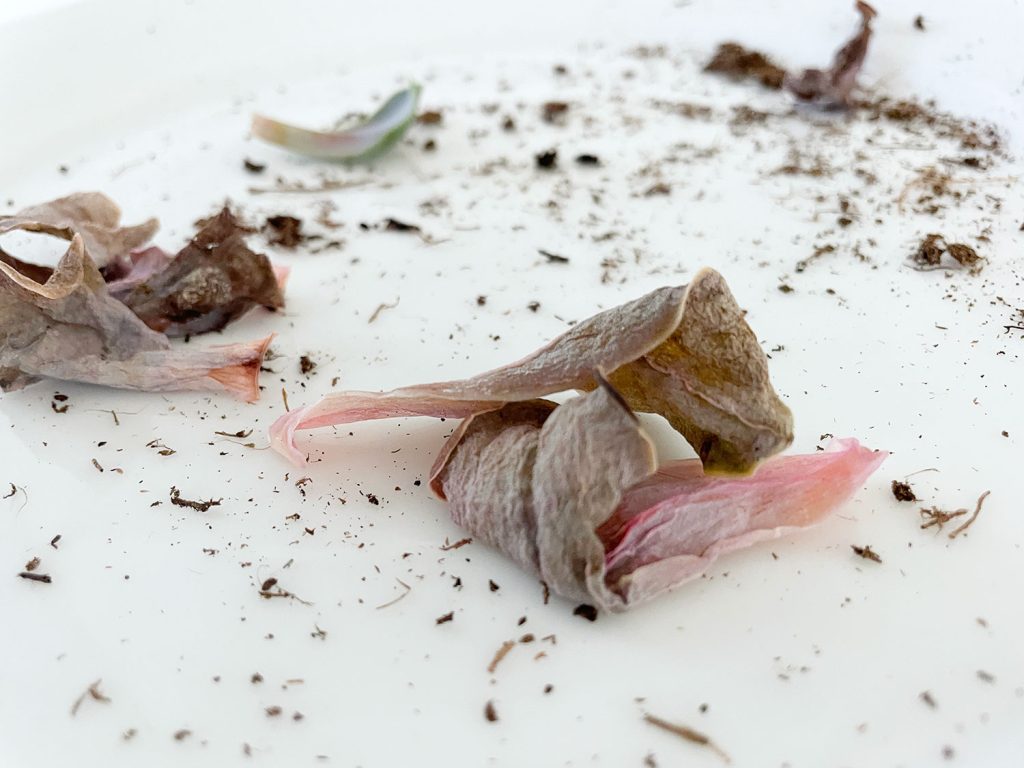
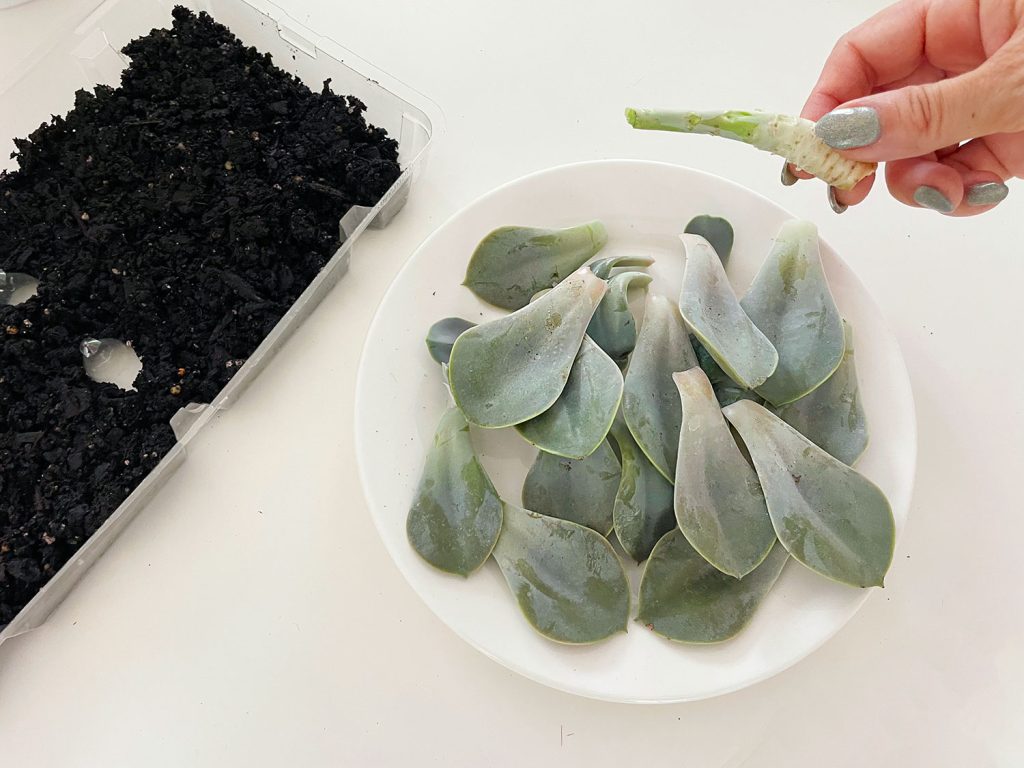
Step 4: Let Pieces Callous
Before you continue, you’ll need to give your leaves and cut stem a few days to callous over. After 3-5 days, the ends should become hard and dry. This is important because otherwise, these ends will absorb too much moisture in the next steps, causing your pieces to rot and ruin your propagation. So always err on the side of more callous than less, maybe giving everything at least a week before you move on.
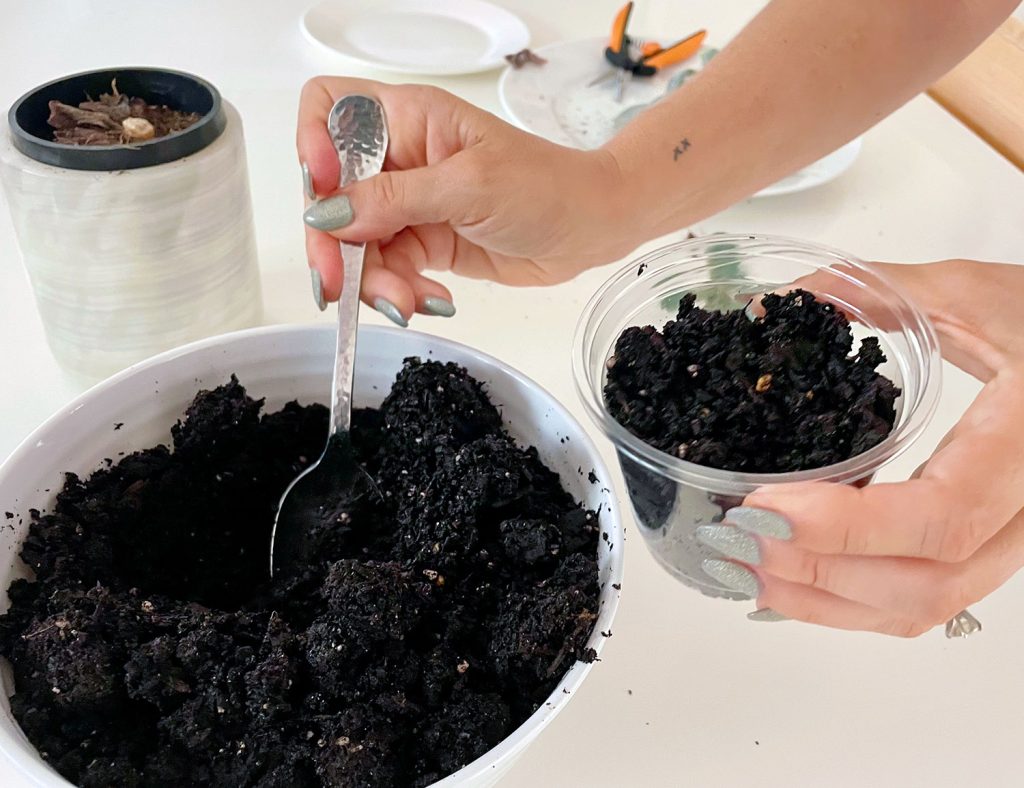
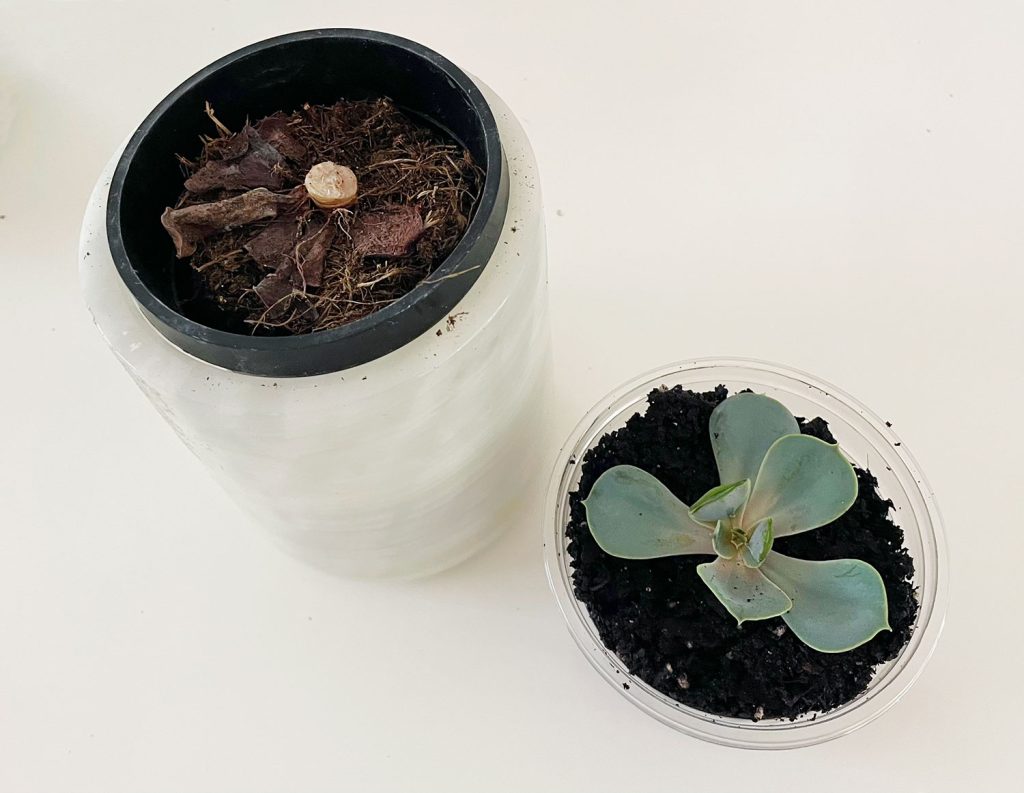
Step 5: Replant Your Bare Stem
Next, let’s take care of the cut stem. Using soil or water propagation, the bare portion of this stem should develop new roots. We picked the soil method because it’s an easy way to get a “finished” looking succulent quickly. To do this, fill a new nursery pot with well-draining potting soil. A cactus or succulent mix works great, or try a standard potting mix with extra perlite mixed in. Make sure your pot isn’t too big. Succulents like to be snug!
Use a finger or chopstick to poke a hole in the center of the soil, and plant your cut stem inside. You can also dip the end in rooting hormone first, but it’s not necessary. We did that because we had some on hand already – and it seemed to help. Once planted, shake or squeeze the pot to allow the soil to fill in around the stem. The dirt and the stem need to make contact for this to work.
Once it is firmly planted, set it aside and move on to the leaves.
Step 6: Lay, Hang, or Plant The Leaves
Here’s where the real magic starts! Each leaf has the potential to become a new succulent. There are a few ways to accomplish this. We experimented with 3 methods this time around, just for fun.
The only method we skipped was water propagation. You have to carefully suspend the leaves over a glass of water so only the tips stay wet, which always feels unnecessarily complicated – especially considering how easy the other methods are!
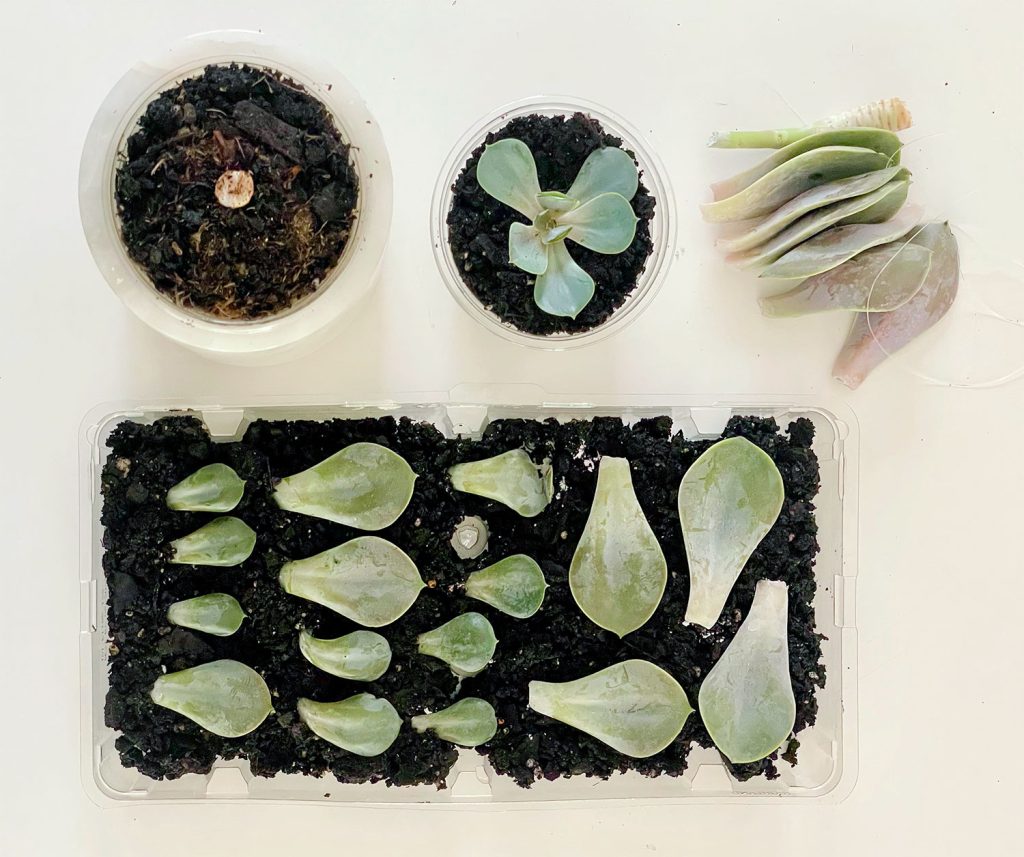
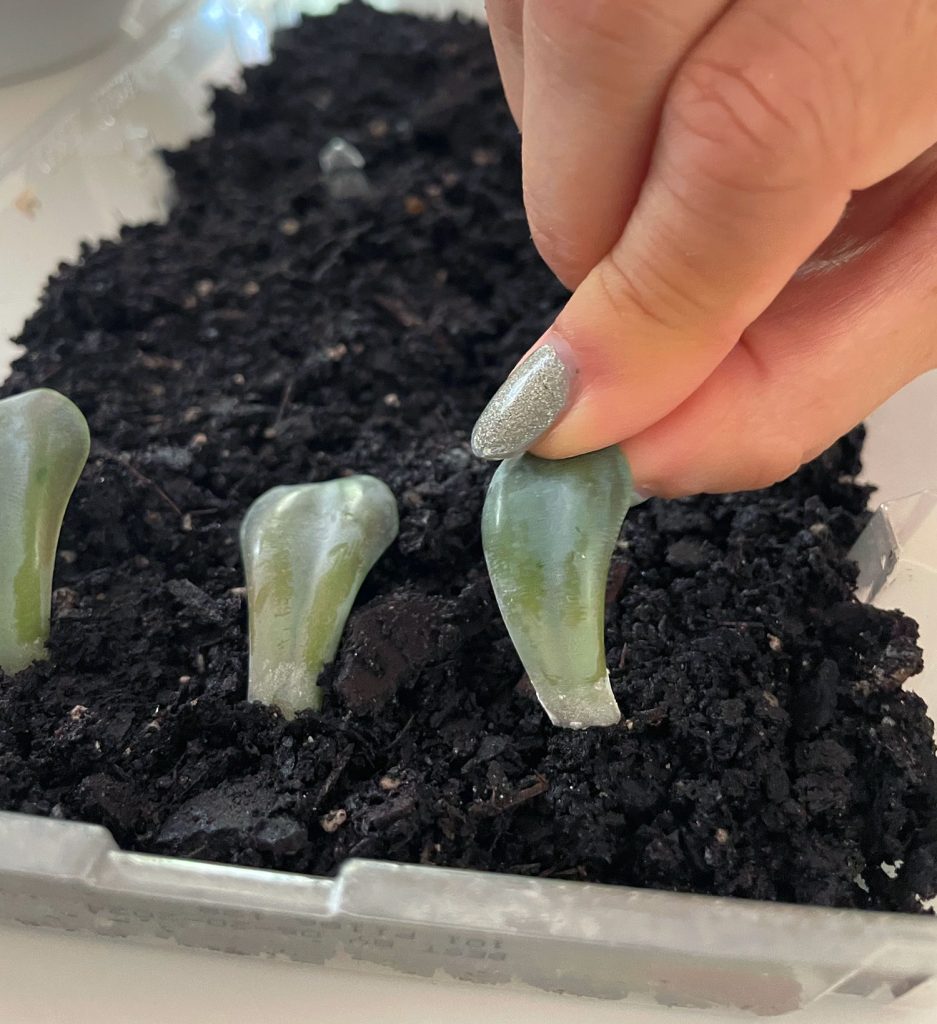
Planting Succulent Leaves In Soil
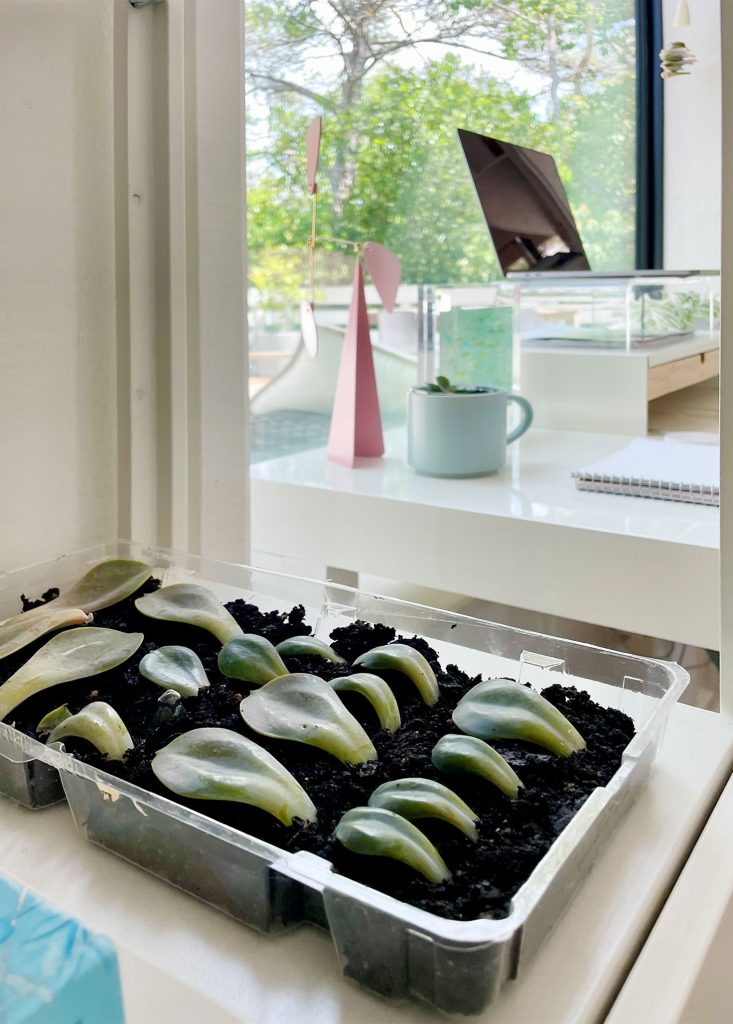
Fill a shallow tray, dish, bowl, or small nursery pot with potting soil. Mist or water the soil so it’s damp, not soggy. Stick the calloused end of each leaf into the soil at a slight angle. It only needs to go deep enough to keep it stuck in place.
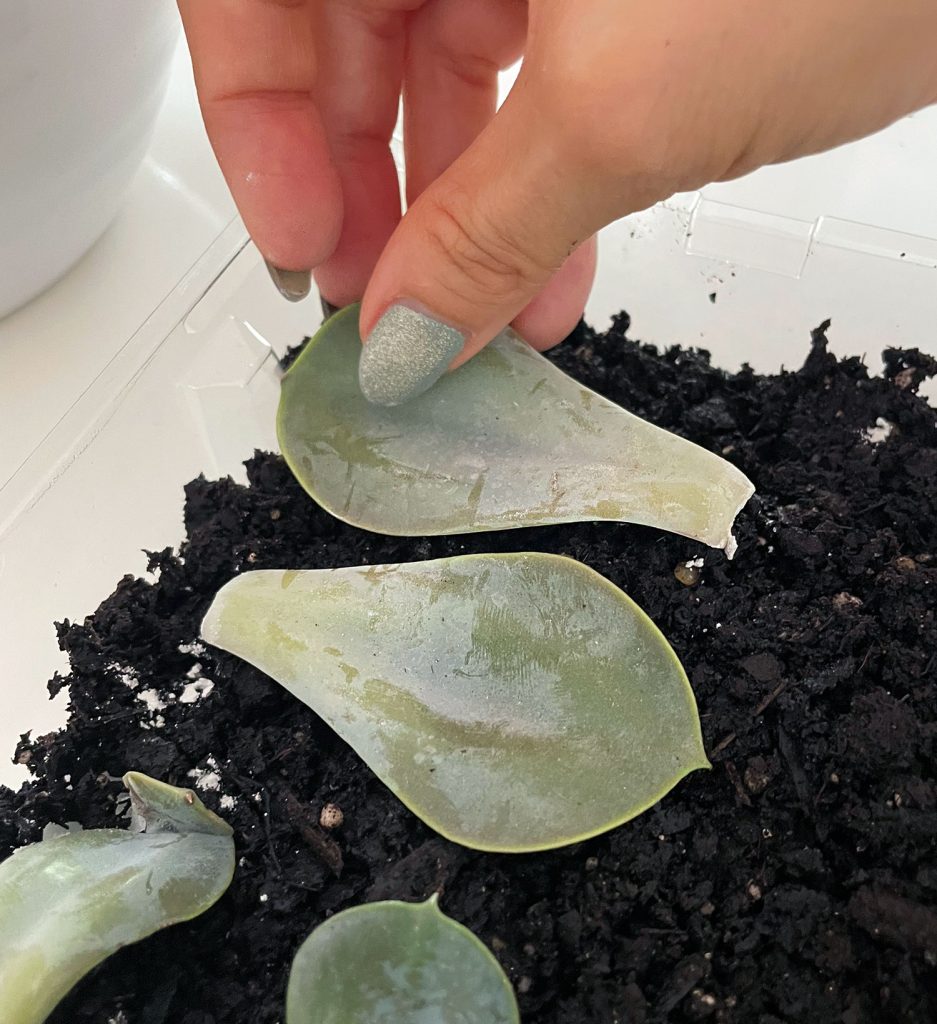
Laying Succulent Leaves In Soil
Alternatively, you can simply lay your callous leaves atop the moist soil. Many prefer this method for its simplicity and because it makes it easier to see new roots develop.
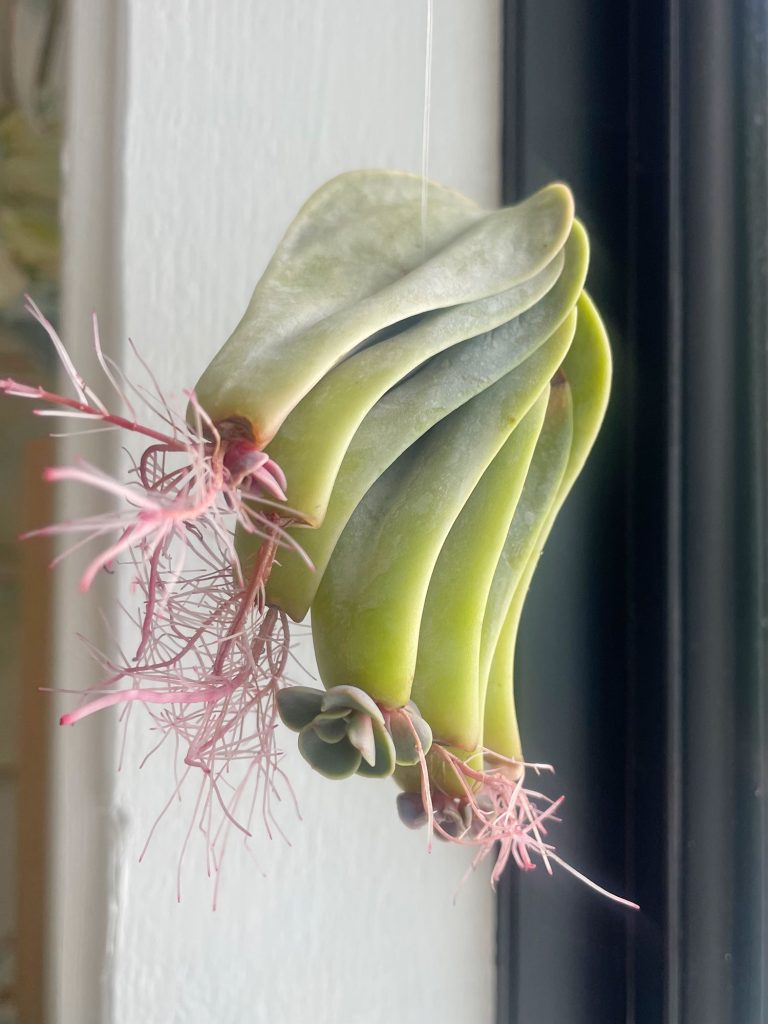
Hanging or Air Drying Succulent Leaves
Believe it or not, succulents can also grow roots and pups without soil. For this method, find a dish or tray to lay them on… or string them up on fishing wire or thread. This method can be finicky, but we thought it would be fun to try!

We started by tying fishing wire around the stem scrap, which would ensure the leaves wouldn’t slide off. Then, we used a sewing needle to thread the leaves together, just like a popcorn garland.
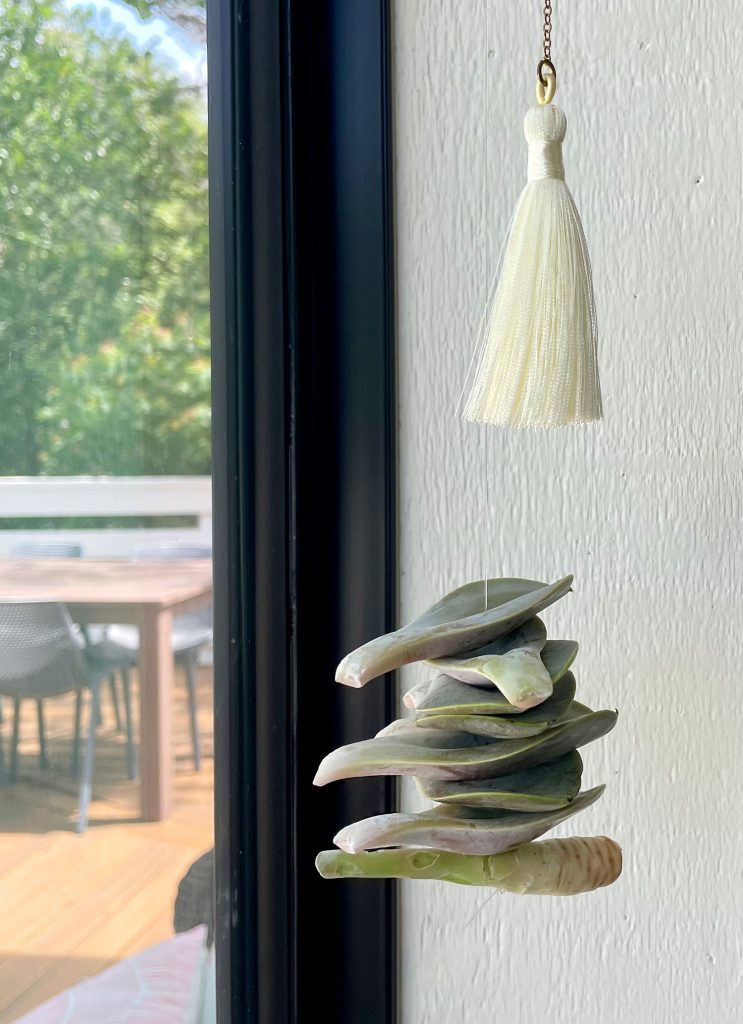
Once everything was strung together, we tied a loop at the top to hang it from a small cup hook by a window.
Step 7: Place In Bright, Indirect Sunlight
No matter what portion of the succulent you are propagating – the original roots, the repotted stem, and the leaves – you’ll want to find a spot in your home where they will get several hours of bright indirect sunlight each day. Windowsill, bookshelves, or side tables are great spots – just make sure it’s not burning with tons of direct sunlight.
We hung our string of leaves in a windowsill that got strong morning sun, making sure it was bright but not as hot and direct as strong afternoon light.
Step 8: Keep Everything Lightly Watered
Water regularly (every 2-3 days) to keep the soil moist, but not soggy, while your leaves are propagating. This is different than grown succulents whose soil should fully dry out between waterings (every 1-2 weeks). The timing and amount of water may vary depending on their location in your home. I found my tray was drying out quickly, so I usually sprayed them every day or two.
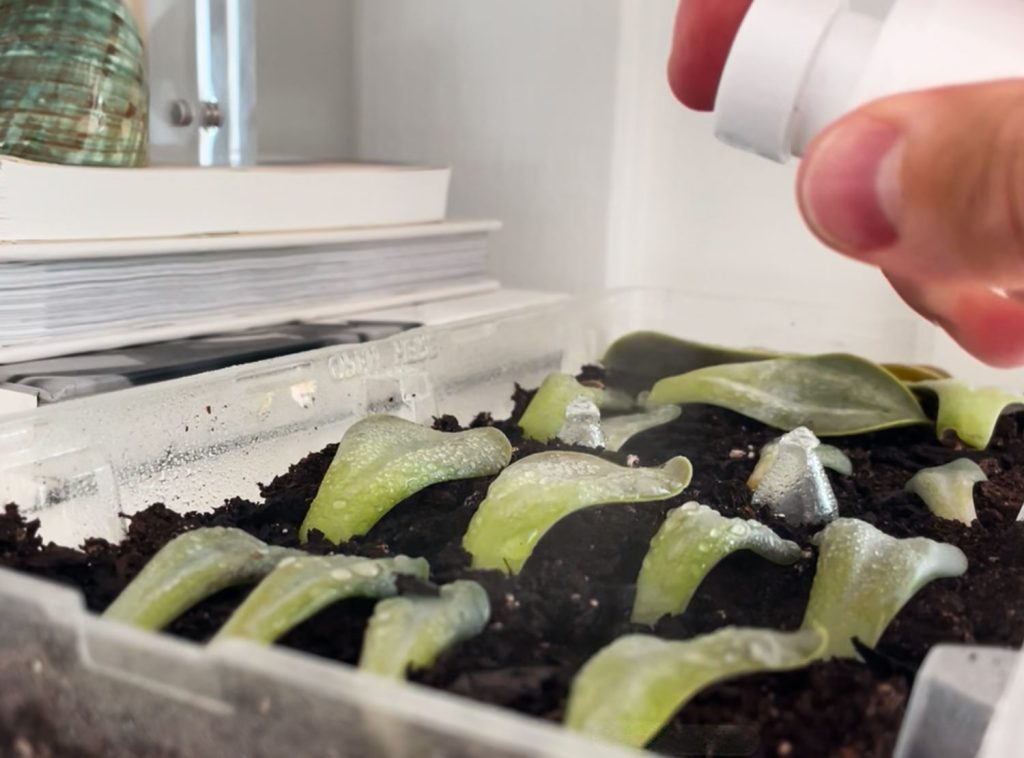
We found it easiest to mist our leaves using a small spray bottle. This kept us from overwatering and also made it easy to mist the strand of leaves hanging in the window. You can see that in action in our video as well.
Step 9: Pot Rooted Plants
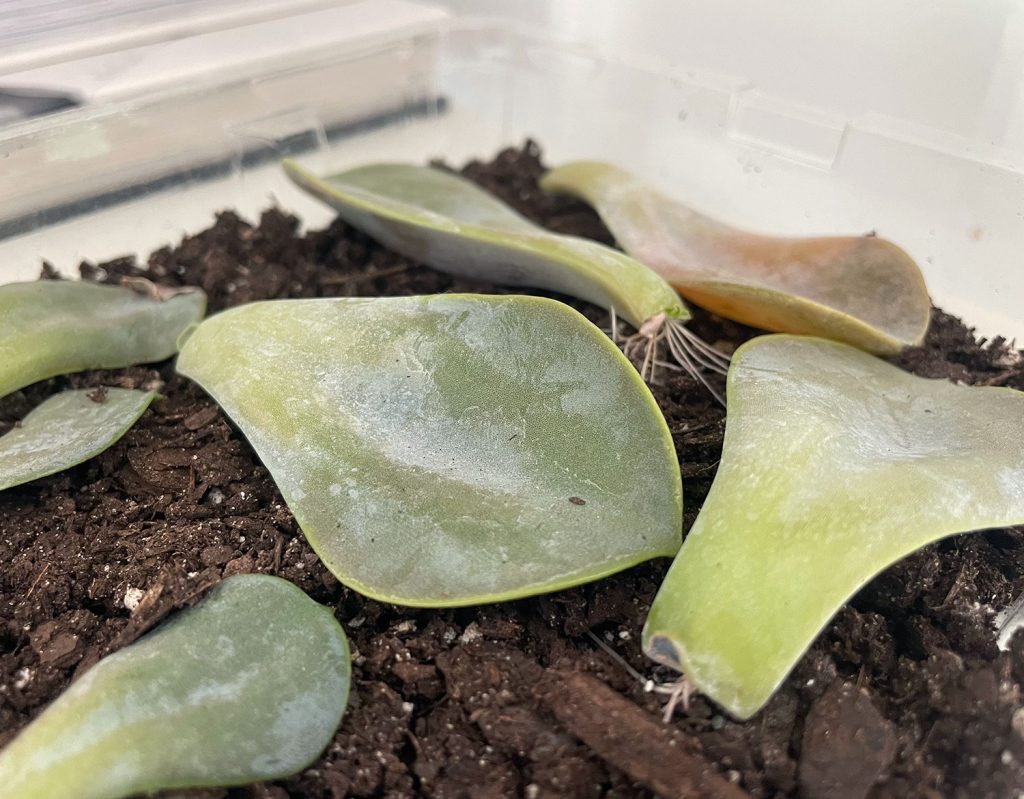
It will take several weeks for your succulents to show signs of growth, depending on your conditions. You will gradually begin to see signs of new roots as well as new plants (called pups) beginning to form at the end of each leaf.
Here is some of our progress 1 month into propagation:
Here are the same leaves after 2 months. Note how some leaves are growing faster than others. Some – like the one on the end – didn’t take at all and quickly withered!
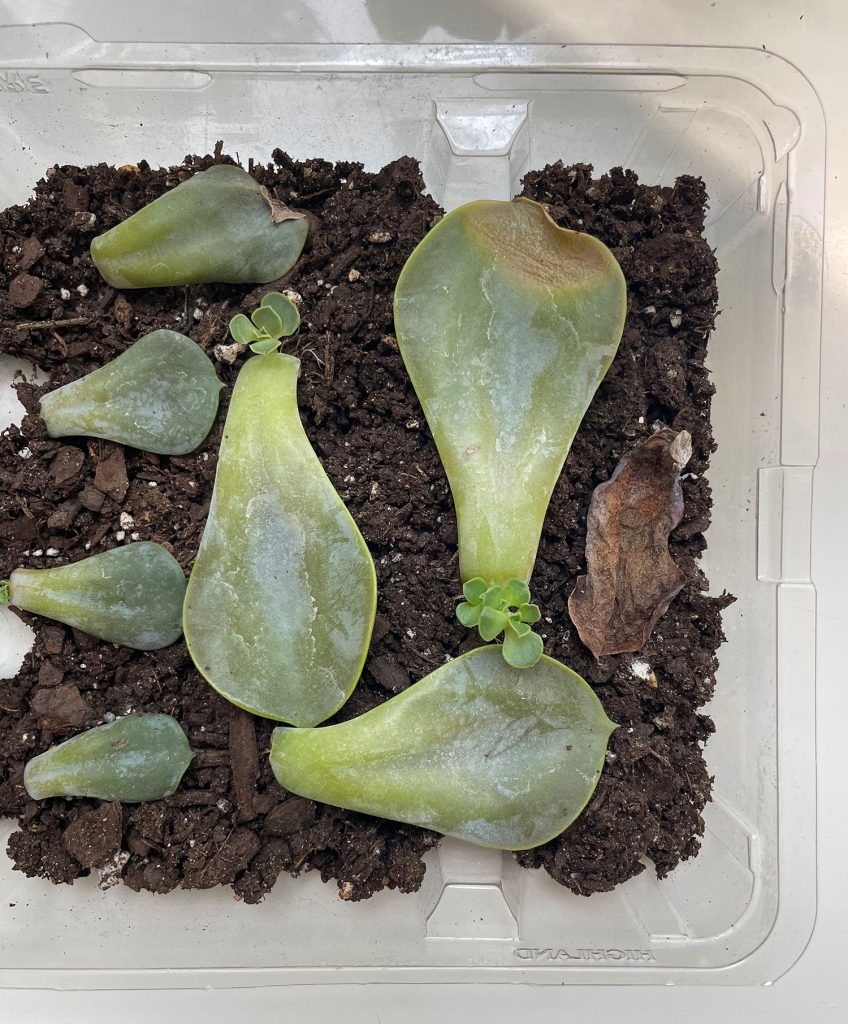
We waited a full 3 months before transferring our new plants into their own pots. To do this, we carefully removed the leaf from the soil and, if possible, gently broke the pup free from the mother leaf. Not all were ready to be detached yet, so you can just leave the ones that didn’t want to break off alone – so they can grow a little bit longer. Or you can proceed to the next step with the leaf still attached.
We had similar progress on our hanging leaves after 3 months. It’s hard to say if the results were better or faster using this method, or if they were just easier to see when they were hanging in the air.
To plant our new roots, we prepared a small pot with fresh moist soil and made a small hole to place the new roots in.
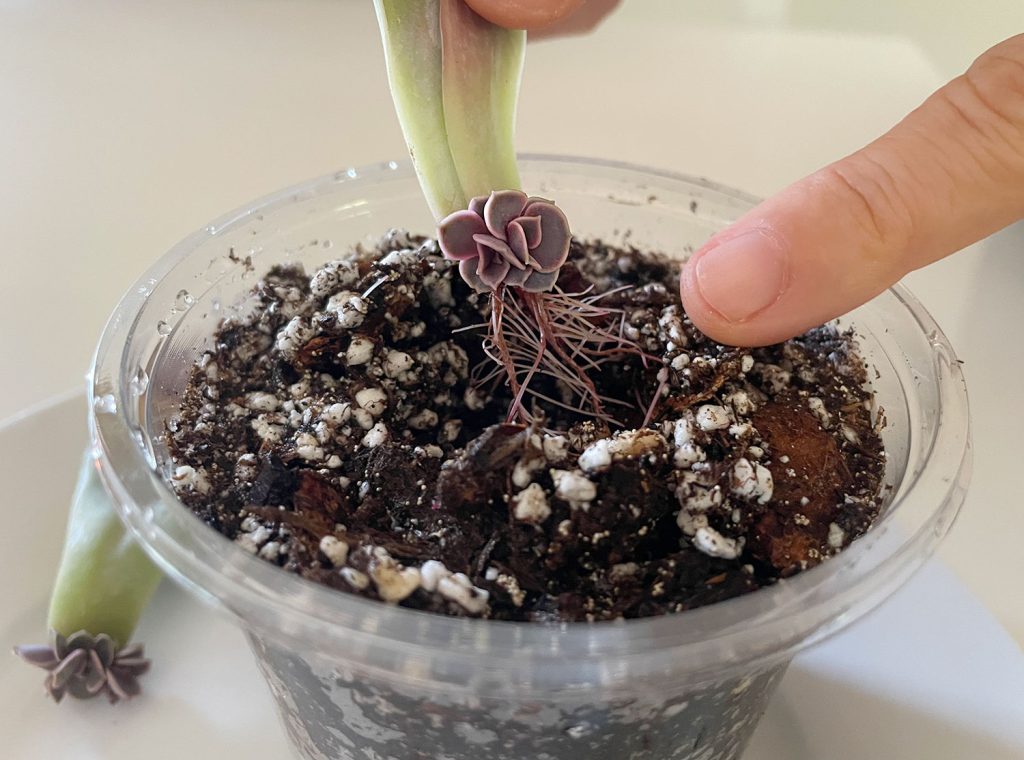
Once the new roots were planted, we cared for the pup the same way we cared for the parent plant – which means we kept it in a spot with lots of indirect sunlight and watered it whenever the soil dried out.
What’s the Best Method to Propagate Succulents?
It’s hard to pick our favorite propagating method because each one was pretty simple and successful and there were pros & cons to each.
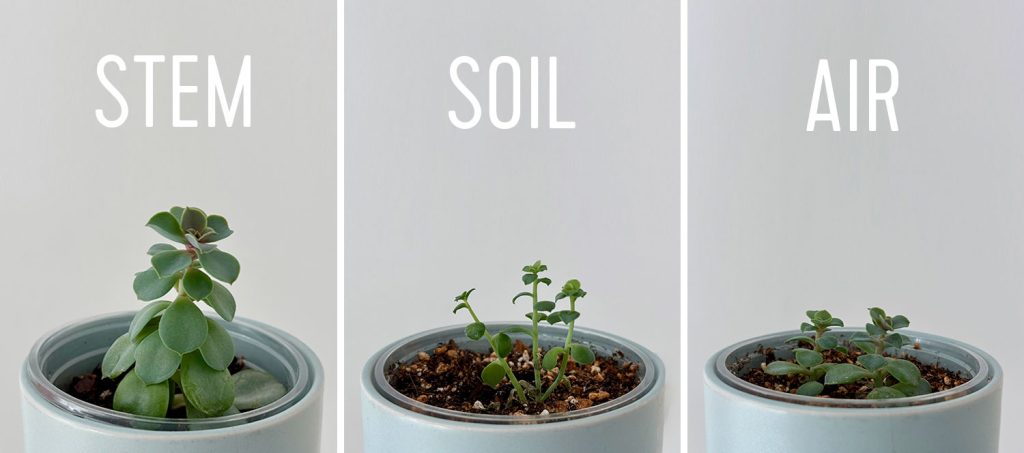
- The trimmed stem had the most dramatic growth, but that’s to be expected because it had a big head start. It’s ready to trim and propagate again into ten more plant babies!
- The leaves placed on soil produced taller thinner growth and overall seemed to produce more successful new pups than hanging the leaves in the air.
- The leaves hanging in air produced smaller but thicker rosettes. This process produced fewer successful pups, but was the most fun to watch!
Overall, it’s helpful to remember that succulents aren’t fast growing plants, so you won’t see results as quickly as you might when propagating plants like pothos.
More Plant Guides
If you’re looking for more information on some of our favorite plants, check out some of these posts below:
*This post contains affiliate links, so we may earn a small commission when you make a purchase through links on our site at no additional cost to you.